Obi sash Pattern and Tutorial
I was asked to make an Obi sash belt for Annabel Wrigley's debut fabric line, Maribel for Windham Fabrics. Pretty awesome, right?! I love how she styled it for the Lookbook. A pretty floral, Breton stripes, some faded denim? What's not to love!

NOTE: I am also making an alternate version in a beautiful raw silk for you to more clearly understand my instructions. For the silk version, I have omitted interfacing.
Ready to make it?

Supplies:
2 yards of lightweight woven fabric (always wash and dry your fabric before cutting to allow for shrinkage)
Coordinating thread
Tailor's Chalk
Lightweight fusible interfacing (I like Pellon Shape Flex, SF101.)
Download Pattern (One size fits most)
Cut the pattern out and tape together aligning notches and page numbers. Each pattern page includes shaded circles with guide numbers to show how the pattern pieces should be organized. Be sure to match up all 4 quarter circles along the edges of the tile.
Fold your fabric lengthwise.
Lay the pattern on the fold line.
Pin the pattern to the fabric and cut.
Cut interfacing 1/4 inch smaller all around (this will help prevent bulky seams)
Mark the dots and notches with a chalk pencil.
Seam allowance for construction is 1/2".

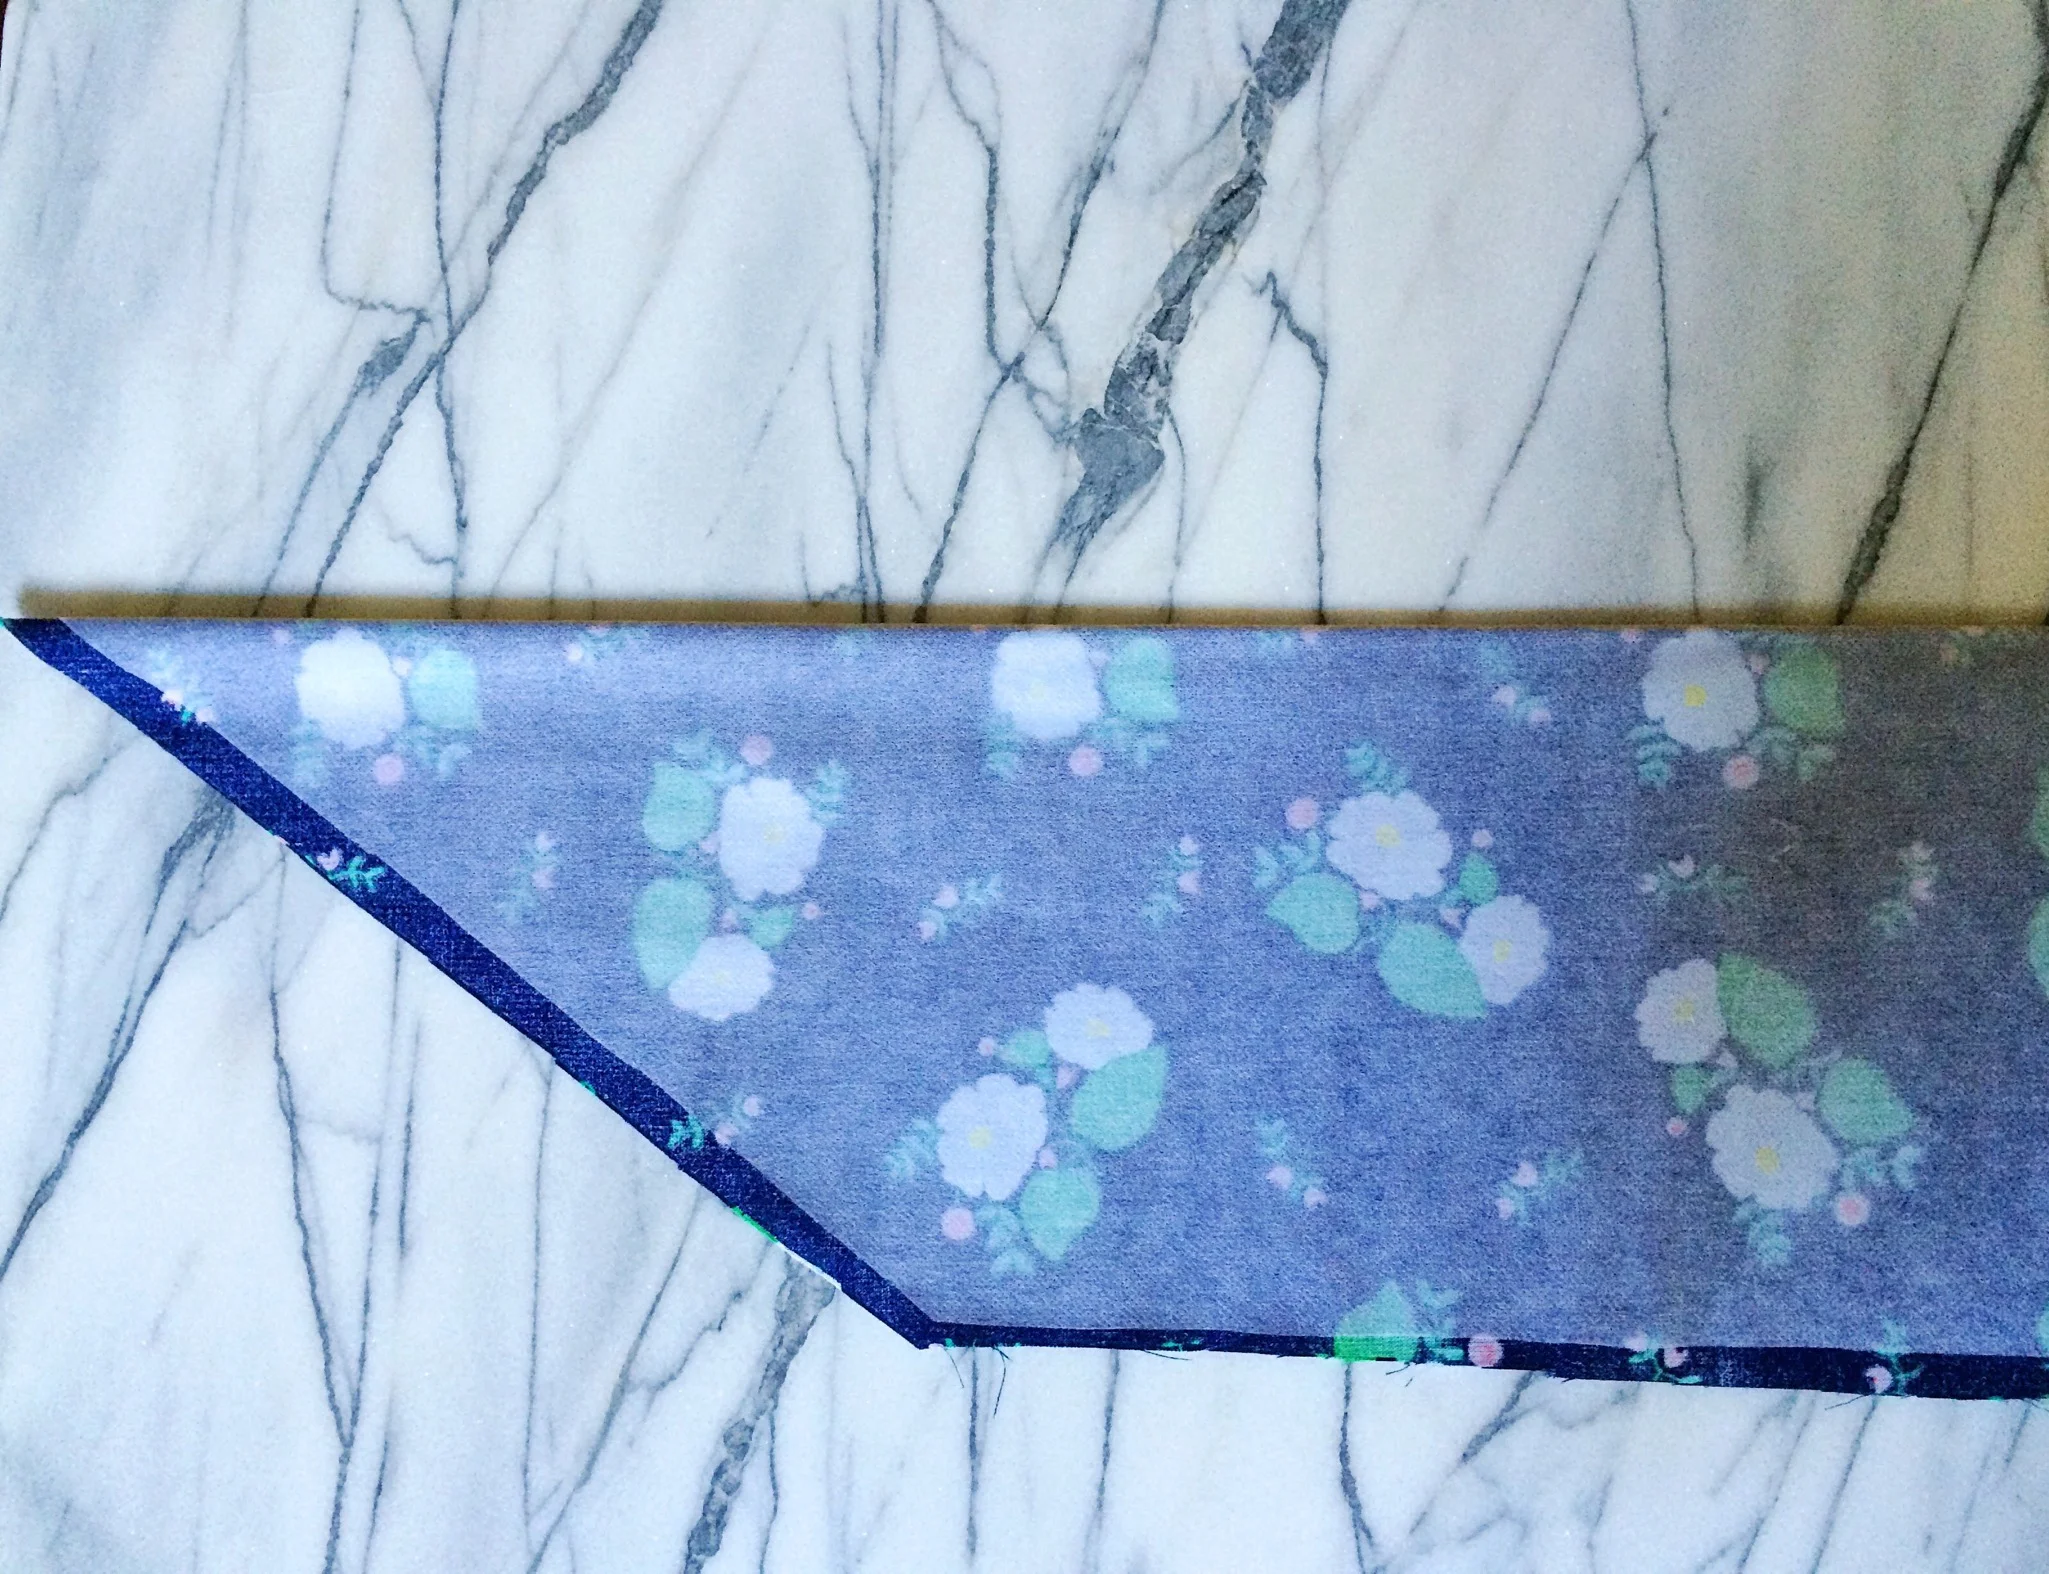
Fold the fabric with the right sides facing together and matching the notches, and pin. Begin stitching around the belt beginning at the point. Stitch the perimeter of the belt with a 1/2" seam, leaving an opening between the dots you marked for the pattern piece for turning the belt right side out. When you begin and end stitching at each dot, begin stitching at the selvage, stitch 1/2" and pivot. Stitch along the long side. By extending the stitch line, just a bit, it will help the fabric turn inside when it is time to finish.
Be sure not to stretch the fabric as you work toward the points on each end.
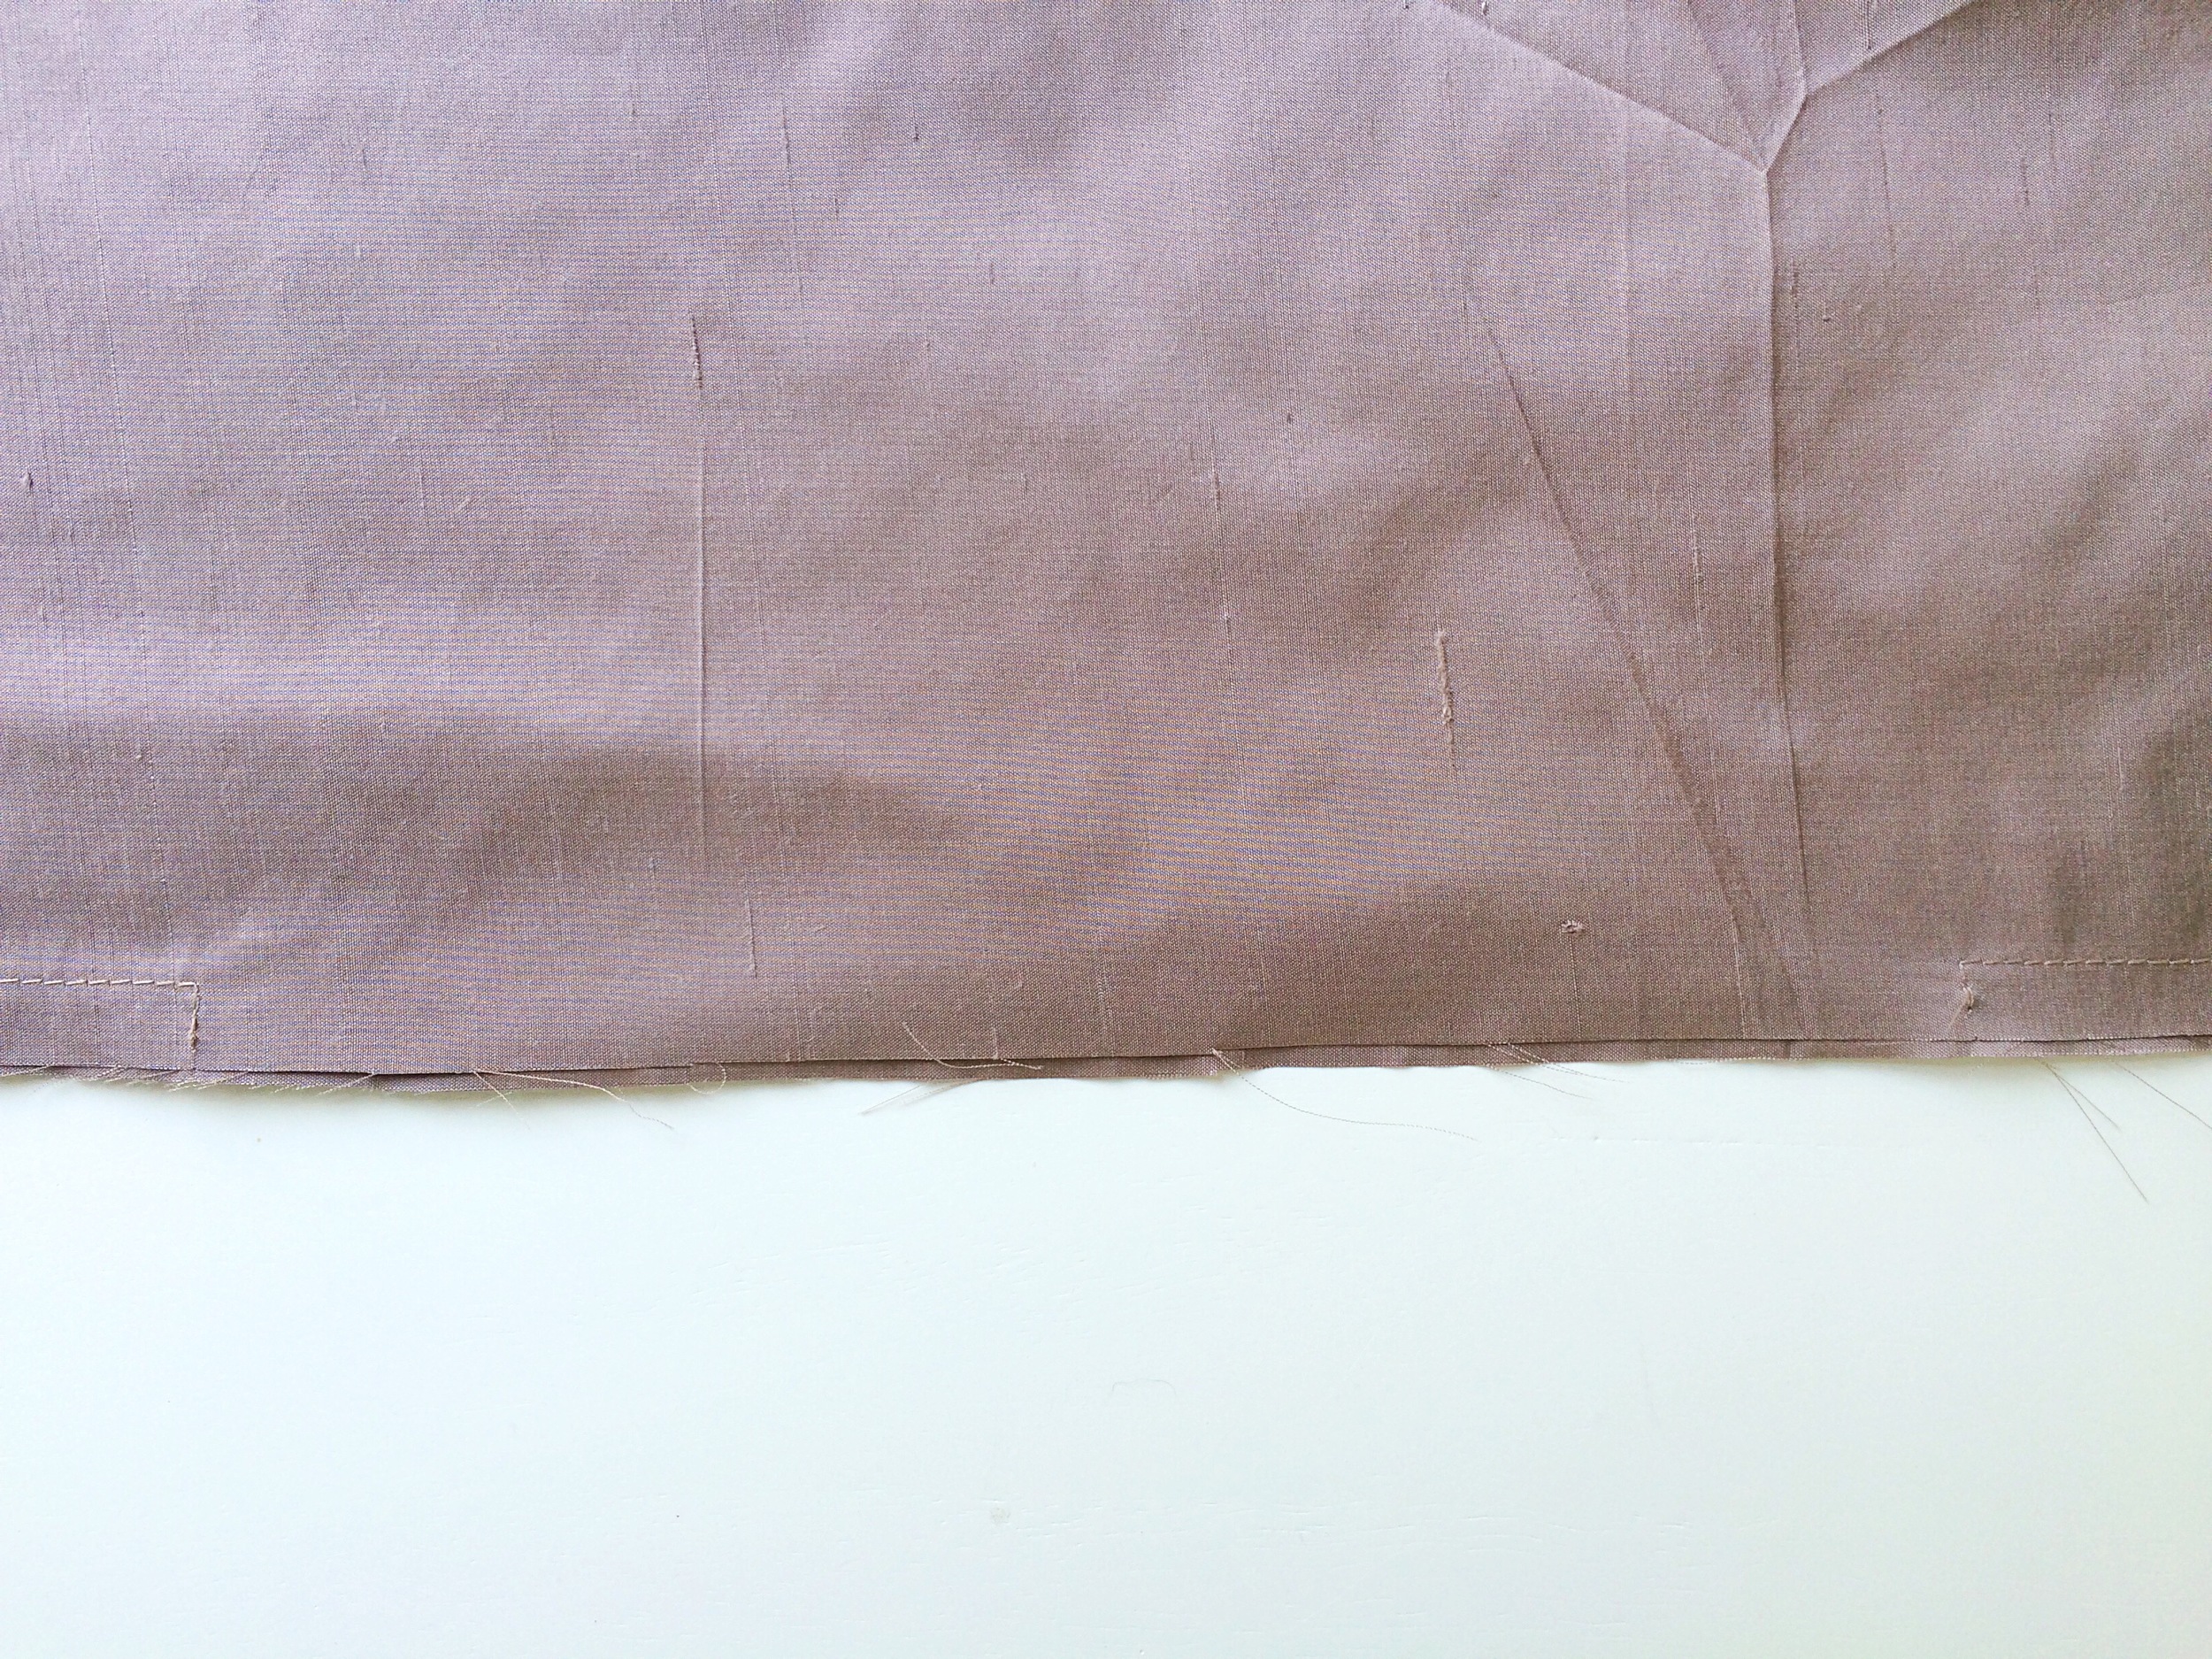
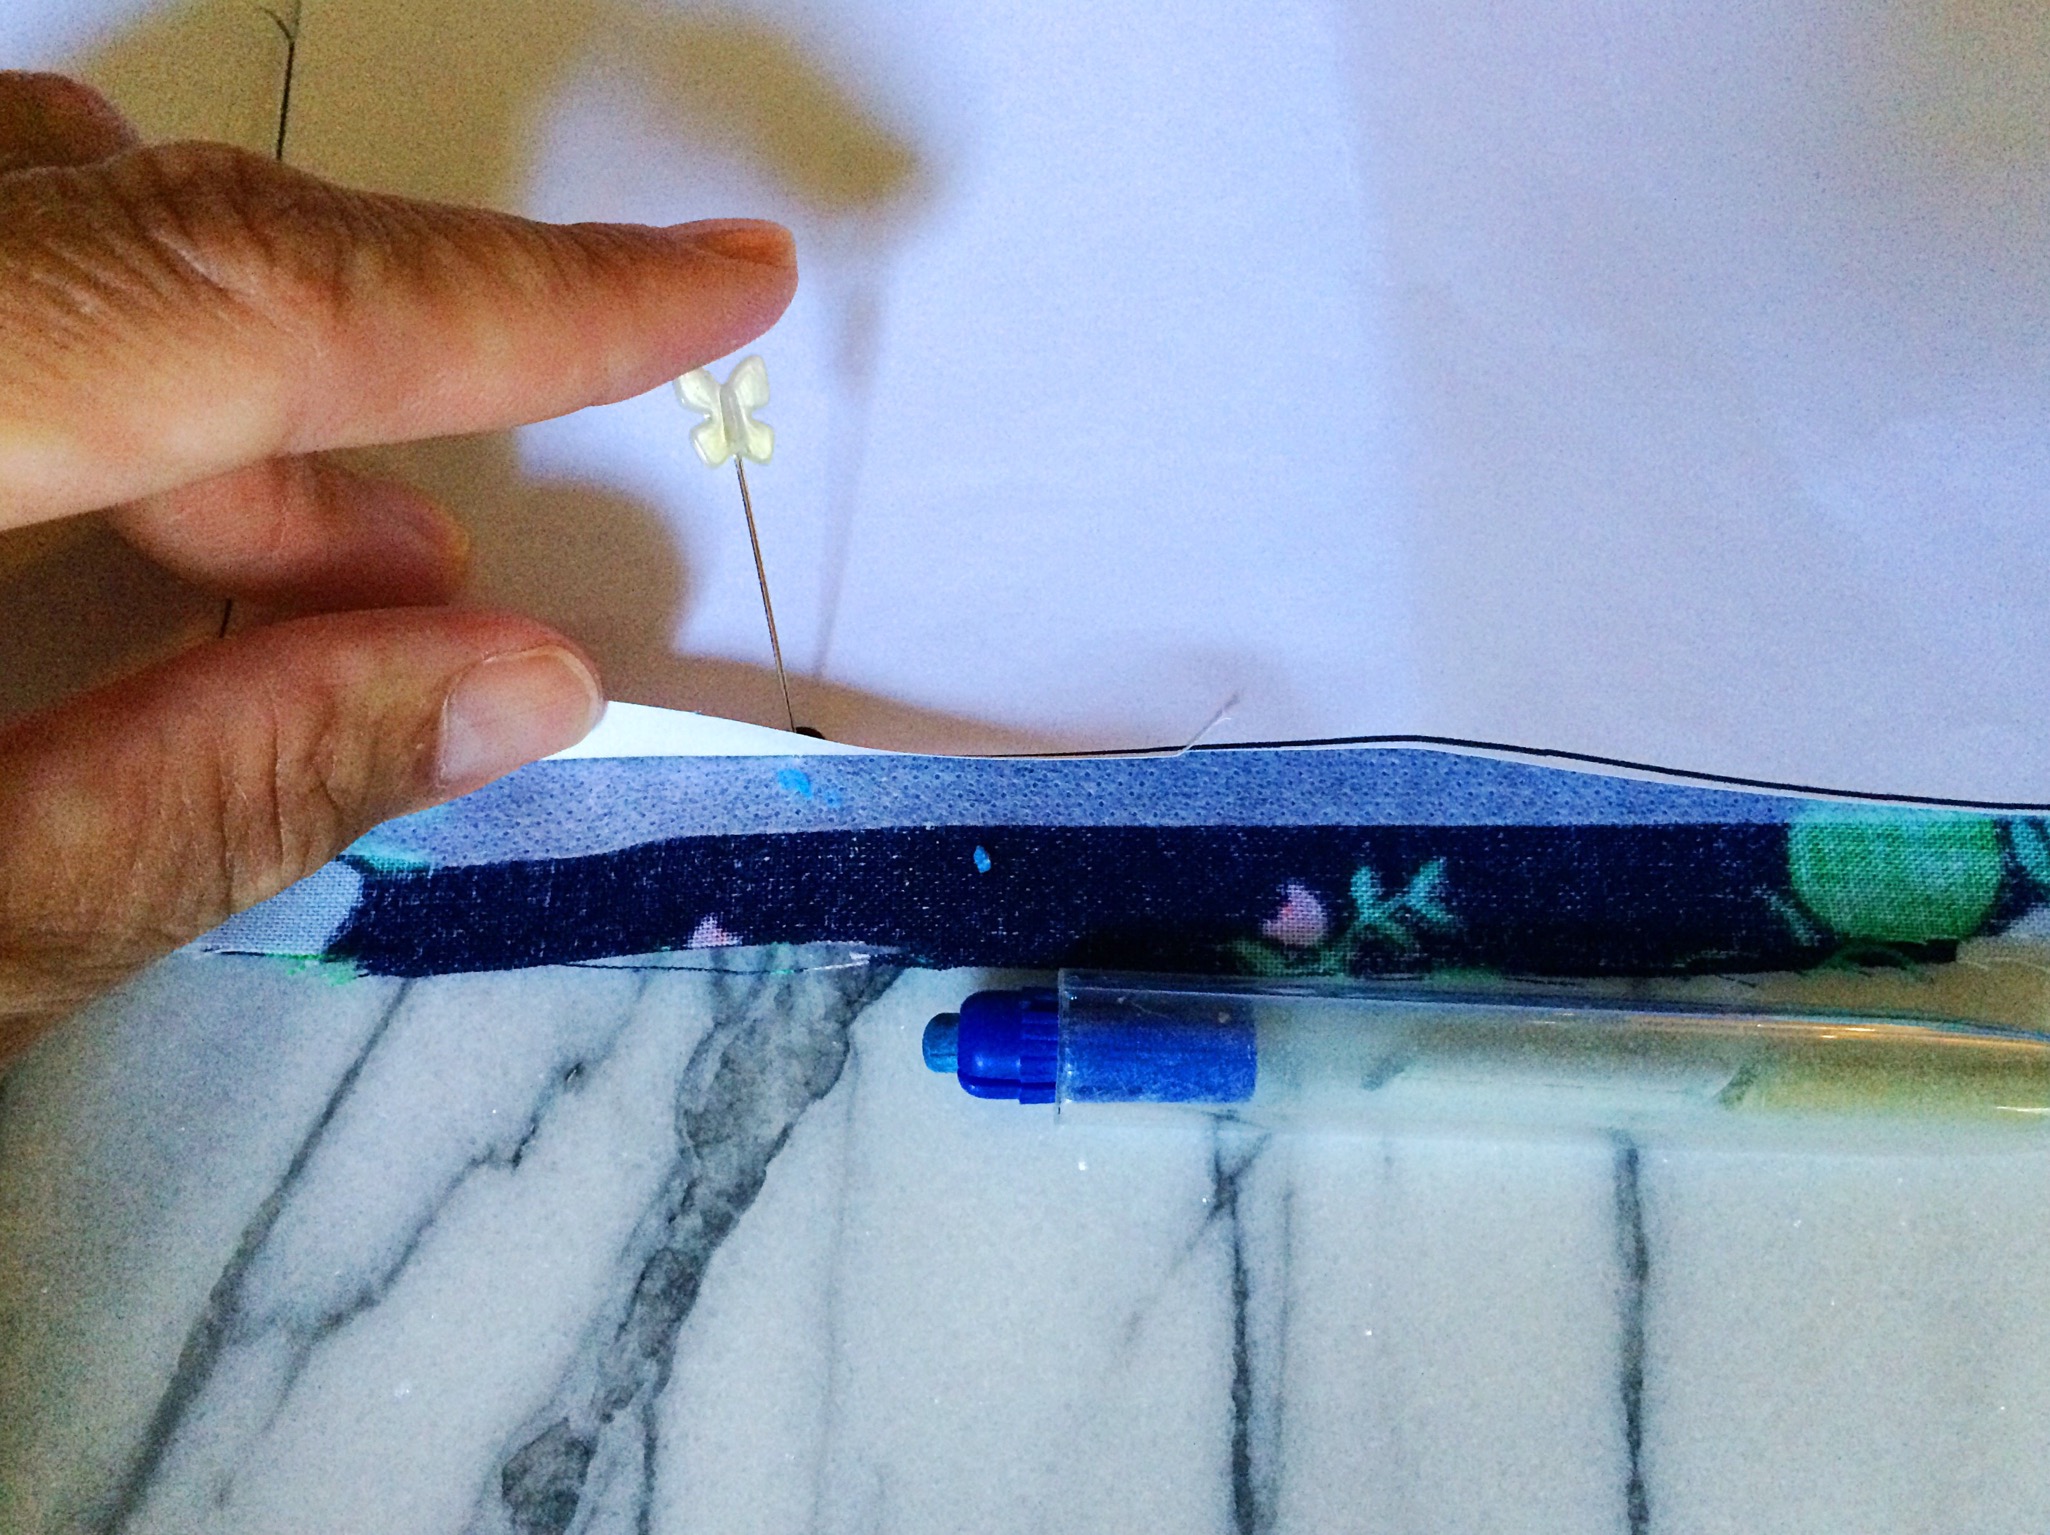
Trim the seam allowances (except for those in the opening) to about 1/8"; then turn the belt right side out. Finger press the edges to smooth the stitching, tuck the seam allowances inside the opening, and press with an iron to meld the seams.

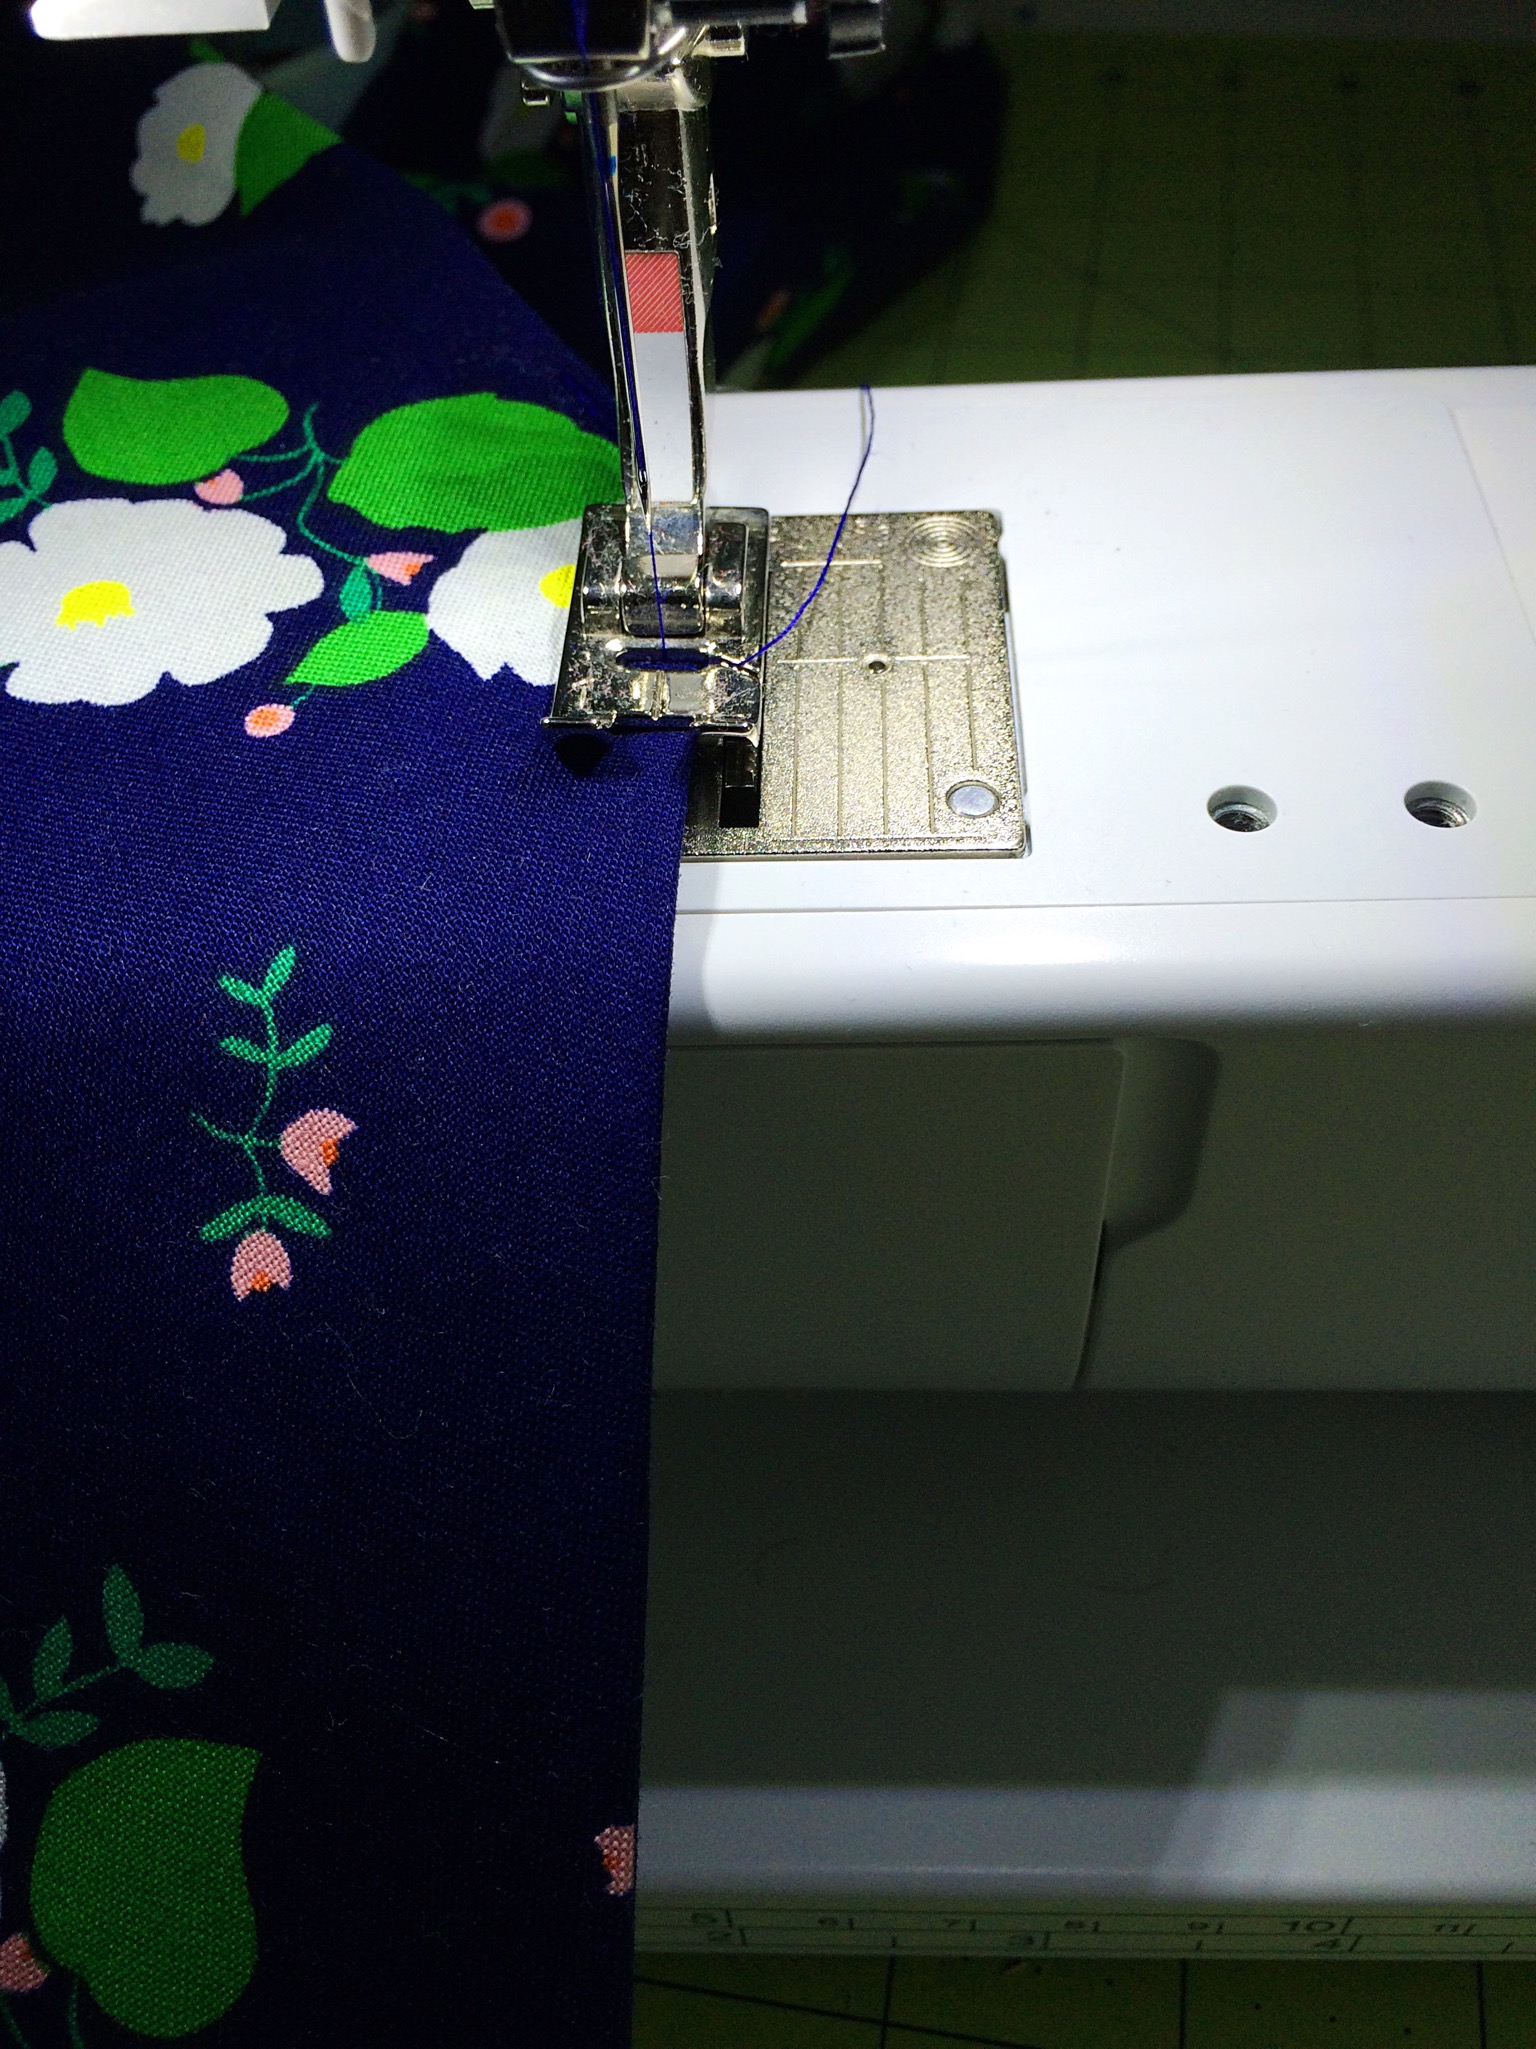
Topstitch 1/4" from the edge around the perimeter of the belt in one continuous seam, pivoting at the points and catching the folded inside edges that we used for turning. Be sure to backstitch to prevent all of those pretty stitches from unraveling! Press.
Your sash is done and ready to wear!